Configuring Spring Boot 2.x for Windows Integrated AuthenticationBefore Getting Started Be sure that you have read and successfully performed ALL of the steps in the pre-flight documentation before proceeding any further. In addition, you will want to have read through the install for Tomcat guide before attempting Spring Boot 2.x. Even though the configuration between the two are similar, SPNEGO for Spring Boot 2.x, in contrast to Tomcat, is quite different.
The main differences are 1) Spring Boot relies on your Java code instantiating
a Spring Boot 2.x Install Guide Overview:
Download the spnego-r9.jar https://sourceforge.net/projects/spnego/files/spnego-r9.jar/download Spring Boot version 2.x only works with the spnego-r9.jar and will NOT work with the spnego-jakarta-2.0.jar. If you wish to use Spring Boot 3.x instead, then you MUST use the spnego-jakarta-2.0.jar. Also, Spring Boot 3.x has it's own Spring Boot 3.x install guide. Please have a look at that guide instead if you prefer Spring Boot version 3.x. Spring Boot 2.x and Spring Boot 3.x are very different in terms of the Servlet API package location(s).
Whereas previously the Servlet API was located in Hence, the SPNEGO library's Spring Boot 2.x only works with spnego-r9.jar and Spring Boot 3.x only works with spnego-jakarta-2.0.jar. Add/Install spnego-r9.jar to Maven Artifact Repository https://maven.apache.org/guides/mini/guide-3rd-party-jars-local.html The spnego-r9.jar is not available in any public maven artifact repository. If your organization has a private artifact repository, please ask your Operations Team to upload the spnego-r9.jar file to your organization's private artifact repository. The recommended pom.xml coordiates are: <groupId>net.sourceforge.spnego</groupId> <artifactId>spnego-r9</artifactId> <version>1.0</version> <type>jar</type> If your organization does not have a private artifact repository, you must install spnego-r9.jar to your local repository (machine where you will be building the Spring Boot app). To install spnego-r9 to your local directory/repository, perform the following steps:
Note: this guide used Java version 1.8 and Maven version 3.8. However, any Java version greater than 1.8 and any Maven version greater than 3.5 will work.
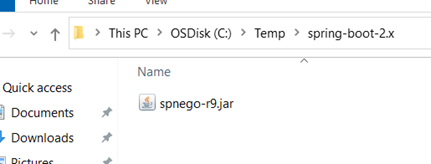
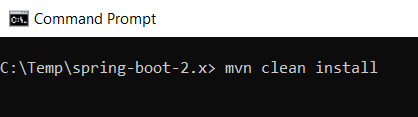
1) Copy spnego-r9.jar to working directory: For this example, our project/working directory is arbitrarily specified to be: C:\Temp\spring-boot-2.x\
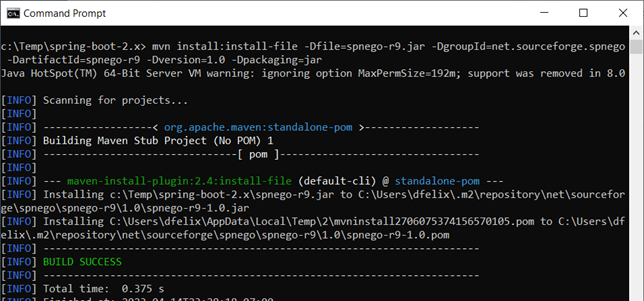
2) Open command prompt to the same working directory: Copy/Pate the following command to the command prompt:
Notice that the word-wrapping gives the appearance that the command is on two lines. However, it is one long command and should be entered as one command and not two separate commands.
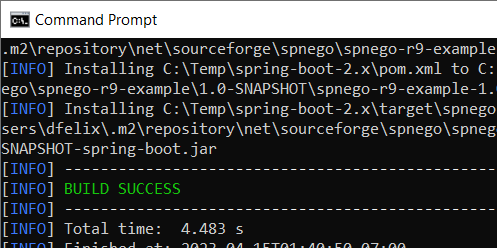
3) Execute mvn command to begin installation to local repository: Once the command in step 2 from above is executed, look in the output for a statement that reads "BUILD SUCCESS". Also, notice that a couple of lines above the "BUILD SUCCESS" statement is the directory path within your local repository where the spnego-r9.jar was placed.
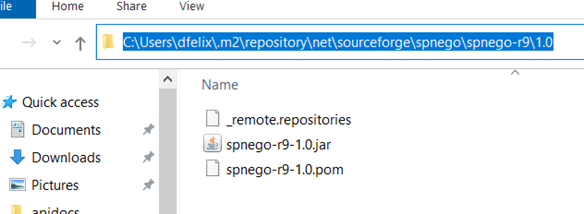
4) Confirm spnego-r9.jar was installed: Traverse your local repository and confirm that the spnego-r9.jar was placed in the correct location. ~\.m2\repository\net\sourceforge\spnego\spnego-r9\1.0\ Notice that your path will be slightly different since the path to your local repository may contain your username.
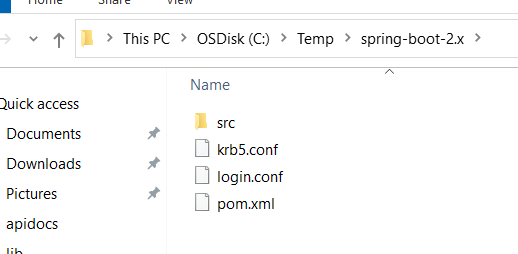
Download spring-boot-2.x-example.zip The example application contains four (4) files:
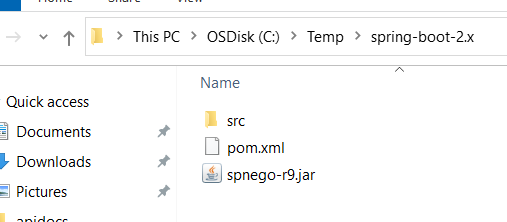
Download the spring-boot-2.x-example.zip file, unzip and copy the contents so that the directory structure appears similar to the screenshot below. Notice that the spnego-r9.jar was placed in the working directory from an earlier/prior step and was not one of the contents in the spring-boot-2.x-example.zip file.
Copy krb5.conf and login.conf files to working directory In the pre-flight guide, you created two files specific to your environment: krb5.conf and login.conf. A successfull completion of the pre-flight guide ensures both the krb5.conf and the login.conf files are configured correctly. Copy the two .conf files to your working directory. Notice from the screenshot below that the spnego-r9.jar was removed from the working directory. It is ok to delete the spnego-r9.jar file from the working directory since it was installed in a Maven artifact repository in a prior/previous step.
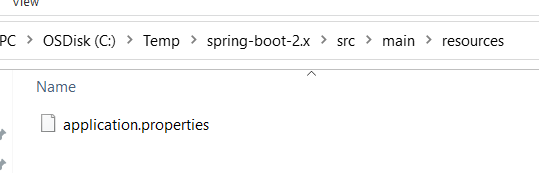
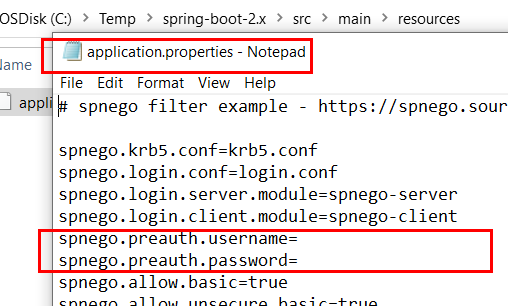
Modify Spring Boot's application.properties file The spring-boot-2.x-example.zip contains the example Spring Boot 2.x application. After unzipping the example application to the working directory, a pre-auth username/password must be specified in the example application's application.properties file. ~\src\main\resources\application.properties Open the application.properties file in a text editor and look for the section specifying the pre-auth username/password.
In the install for Tomcat guide, a pre-auth username/password was needed and specified in Tomcat's web.xml file. This same username/password must be specified in the application.properties file.
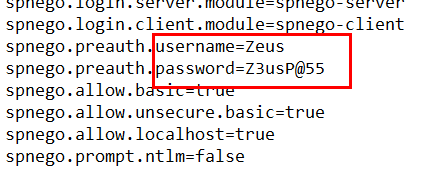
The pre-auth username/password property in the application.properties file must be provided.
As you know, the application.properties file should not be part of the source-code compiled archive/build nor should it be checked-in into an SCM with its username/password properties populated. Separately, given that in the steps to come we will be launching the example application from the working directory, if you prefer, you can move the application.properties file from the resources directory to the root of the working directory:
Use Maven to build a Spring Boot executable jar We are now ready to build/compile the example Spring Boot 2.x application. Execute the following command in the command prompt:
Notice that we are executing the command from the root of the project/working directory which contains the folder named src and three files named krb5.conf, login.conf and pom.xml.
After the command executes and finishes, look in the output for a statement that reads "BUILD SUCCESS".
Start the example application from the command line We are now ready to start the application. But before we do, double-check that the compiled/built example Spring Boot 2.x application jar is in the ~\target\spnego-r9-example-1.0-SNAPSHOT-spring-boot.jar directory. If so, execute the following command from the same project/working directory we've been working in:
spring-boot-2.x-example-app.png
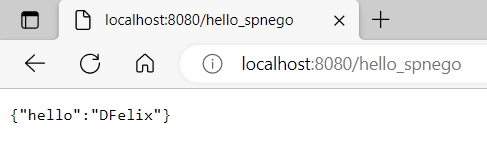
Test authentication using the example hello_spnego REST call Open a web browser and visit the hello_spnego REST service.
Notice that this a REST service call and is not a call to a .jsp page. Next, take a look at the source-code of the REST service ( Finally, notice that the application.properties file contains the following entry:
# new feature in spnego-r9.jar (comma delimited,no spaces)
spnego.exclude.dirs=/public/hello_public
The By providing one or more paths that should be skipped, the SPNEGO library will exclude resources that match the start of the specified path(s). Troubleshooting the hello_spnego REST service The best way to get the Spring Boot 2.x example working is to first read through and perform the steps in the pre-flight guide as well as the installing Tomcat guide. If after successfully performing all of the steps in both of those guides, and you were able to successfully get the SPNEGO library working in Tomcat, but for some reason not able to get it working with Spring Boot 2.x, please post your questions in the Forum.
Links:
Troubleshooting:
Examples:
Licensing:
© 2009 Darwin V. Felix. All rights reserved.
|